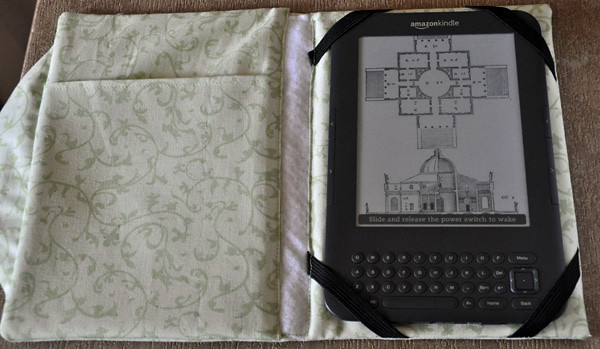
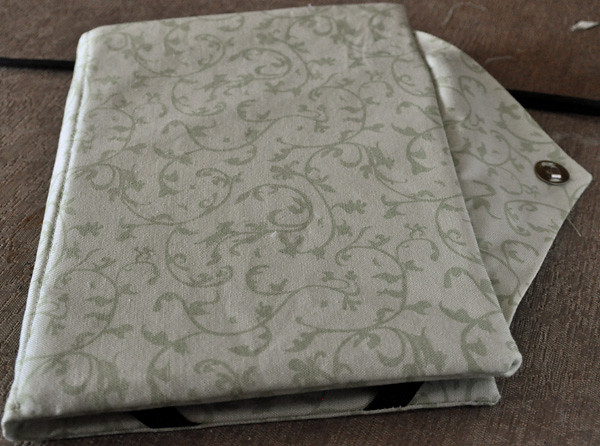
My attempt at a "book" style cover for Kindle. My sewing skills aren't the very best, but the geometry is correct and a neater seamstress will be able to produce better results.
Supplies & materials:
- Mat board OR stiff plastic canvas (if you plan on washing the piece), 2 pieces that measure 8 × 5.5”
- Note: I cut my mat board with a fabric rotary cutter and trimmed it down with a craft knife (like an “X-Acto”). I don’t recommend using scissors on mat board; if you don’t have the necessary tools to cut it, then just use some stiff plastic canvas.
- Fat quarter or half yard of your choice of fabric (you can use two fabrics, outer and lining, if you like). Suggested fabrics: cotton solids, calico, denim (outer fabric), PVC/"pleather" (outer fabric)
- 12” of ¼” wide elastic
- Sew-on snap or (weak) magnetic snap closure, hook and loop (Velcro) or button (a button will not allow you to close the “book” backwards; no big deal if you don’t care)
- Felt or thick fabric, 2” by 9”
- Ruler
- Sewing machine, needle appropriate for fabric, and thread
- Iron set to heat setting appropriate for main fabric
NOTE: ALL SEAM ALLOWANCES SHOULD BE AS CLOSE TO ⅜ AS YOU CAN GET. SEW SLOWLY TO ENSURE ACCURACY AND NEATNESS.
READ ALL DIRECTIONS BEFORE YOU BEGIN.
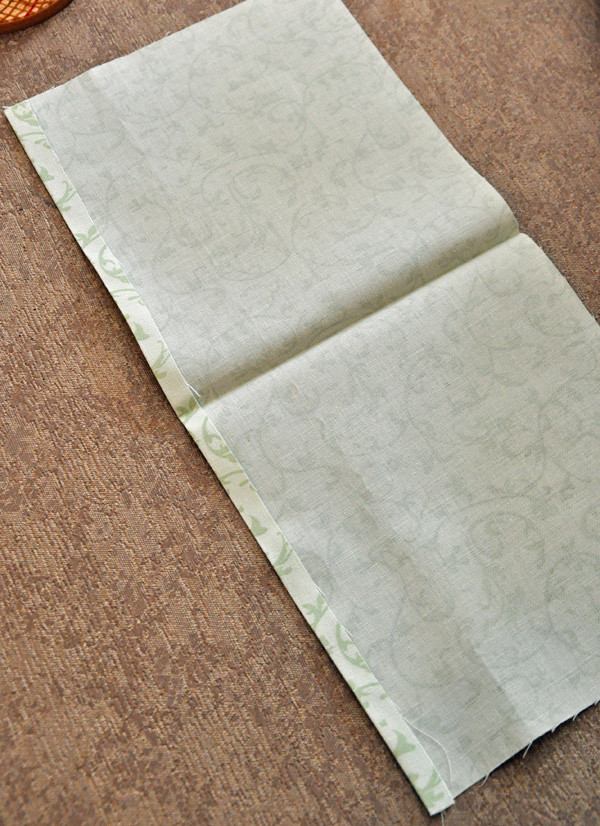
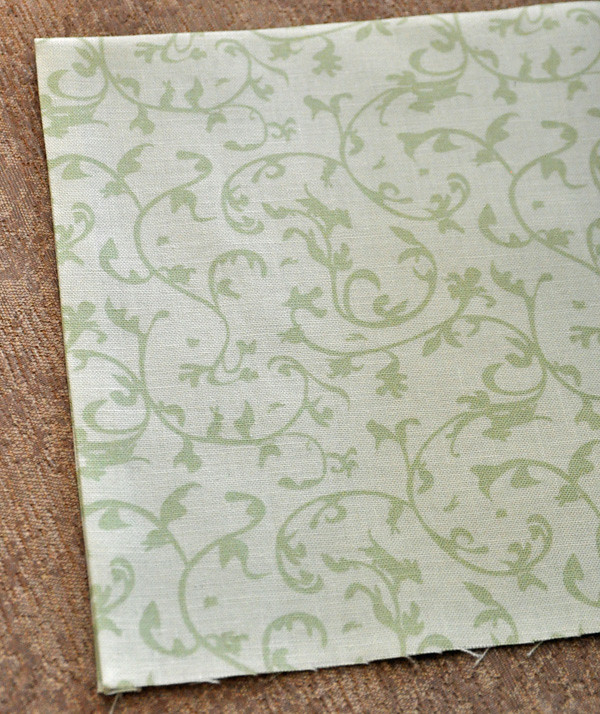
Press your fabric and cut out your pattern pieces.
- Outside fabric: 12 ⅝ × 9” (If you are using a different fabric for the outside, use it here. This fabric may be doubled or interfaced if desired. If you double it, baste both pieces together right side in; if you interface it, I recommend medium-weight fusible interfacing.)
- Inside fabric (cut 2): 6 ½ × 9” (These may also be interfaced if you want. I would use lightweight fusible.) I will refer to these pieces as “inside pockets” since they will enclose the mat board/plastic canvas.
- Inner pocket (optional) (cut 1): 13 × 6 ½” (will be folded width-wise)
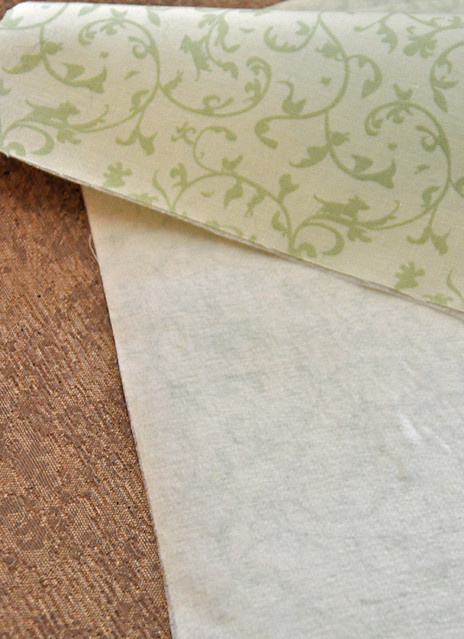
- Flap (cut 2 [outer fabric]): Cut an isosceles triangle with the base being 9” long and the height/altitude being 3”. This is most easily accomplished by folding the fabric along the altitude and cutting a triangle that is 3” along the fold and 4 ½” in a right angle from the fold, then connecting the two points via straight line. If you prefer a straight flap or other shape simply cut it to whatever dimensions/shape you like. A round flap would look nice, or you could just make a thin strap, or skip this step altogether if you have another creative idea to keep the whole thing shut.
 |
| Diagram to cut out triangle flap. This results in an isosceles triangle described above. |
1. Cut 4 pieces of elastic, 3” long each. Do not worry about cutting your felt.
Press all pieces flat after cutting.
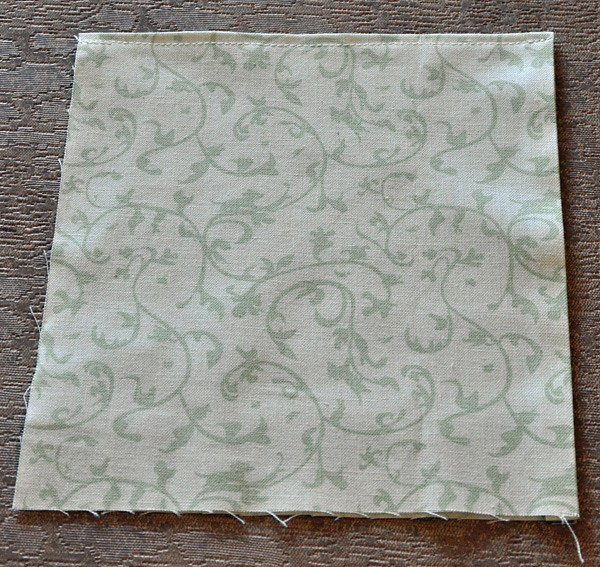
Press one of the longer sides of the pocket piece (the 13 × 6 ½”) under about ⅜”.
Press it now width-wise, right sides out, so that it now measures almost 6 ½” square, ensuring that the narrow folded bit is tucked in very neatly.
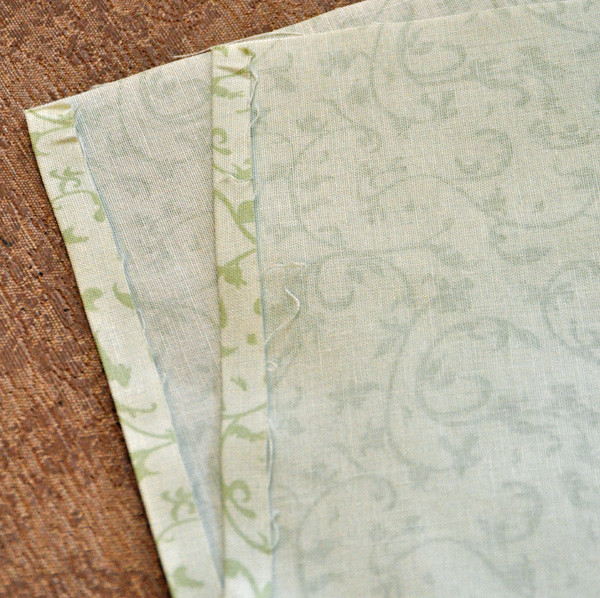
Press in one long side of each inside pocket as close to ⅜” as you can get without burning yourself. If you err, try not to make it wider than ½”.
Apply fusible interfacing if you choose to do so.
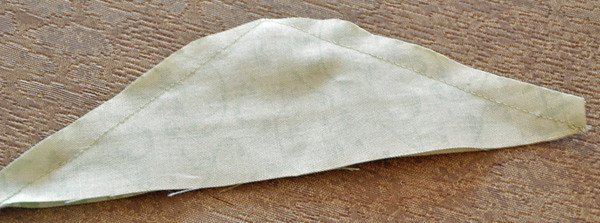
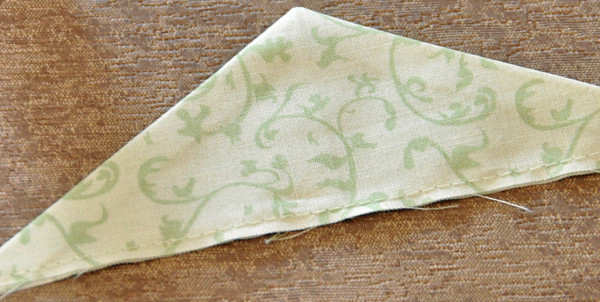
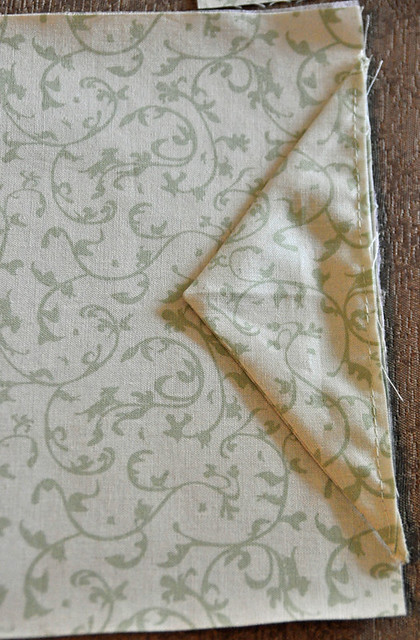
With right sides together, stitch along the top edges of the triangle, leaving the base unstitched. Trim the corners close to stitching and turn.
Press. Baste along the raw edges of the bottom close to edge.
Top stitch close to the folded edge of the inner pocket (not the hemmed edge; sew along the top that will form the top of the pocket itself).
With right sides together, pin as follows:
Pin each side pocket to the main fabric, having the pressed edges closest to each other.
Pin in the elastic, so that it will catch in the seams, across each corner of the left side pocket, which will be the right pocket when turned right side out.
On the other pocket, sandwich inside the inside pocket the flap and inner pocket. The order of fabrics should be:
- Outside fabric
- Flap
- Inner pocket (the square piece that is folded)
- Inside pocket (the part that will enclose the board)
For the moment, don’t worry about the gap in between the inner pockets. We’ll take care of that in a minute.
 |
| This is what it will look like right before you stitch. |
Stitch carefully around the three pinned sides of the inside pockets. Be sure you catch the elastic and all layers while stitching (this is why we need to pin it first). Also be sure to leave the two pressed edges unstitched; otherwise you won’t be able to slip in the board! Clip the corners and turn right side out. You can slip in the board to be sure you push everything out completely. Take out the board.
Press. I cannot emphasize how important this is! If you are using mat board, you can press while the mat board inside, but do not have your iron hotter than wool, and don’t use steam.
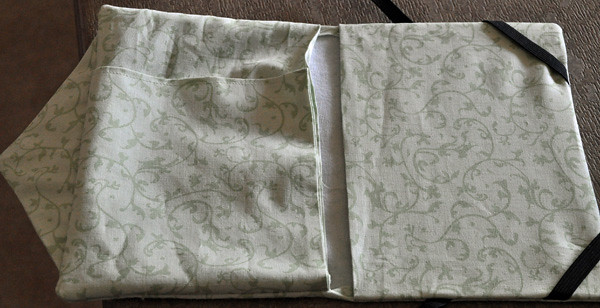 |
| Ensure that your pocket comes all the way around. I thought I had stitched it wrong, but in reality, it just needed a little persuading. Press after you get to this step. |
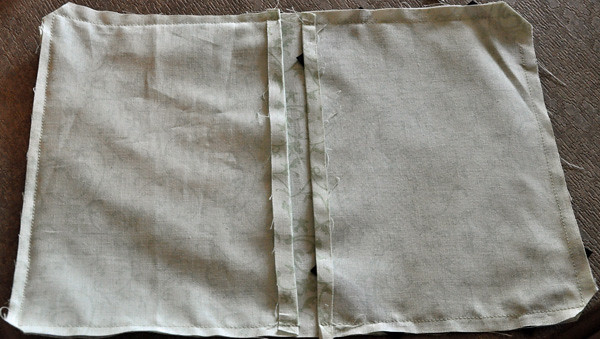
With fine, sharp scissors, clip the piece of back fabric where it attaches to the inside pockets. You will only need to clip it about ⅜”. Pin or press so that the bottom edge is folded, and the raw edge is captured up inside of it. If you look at the photo above, these are the small strips of fabric left in the unstitched area between the two halves, at the top and bottom.
Take your felt or thick fabric and tuck it inside the area where you can see the back side of the outer fabric. Trim it to fit. We want this to reinforce the hinge area of the cover. It should fit inside the edge of each pocket, up to the pressed area of the gap. After trimming, pin it in place. Be sure you pin the elastic down very securely, and have a little fold at the edge to tuck the raw edge of the elastic down over the folded and pressed portion of the pocket.
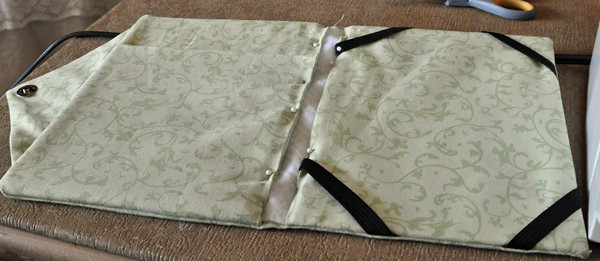 |
| In this view, the mat board has already been inserted as described below. |
Carefully slide in your mat board or plastic canvas. It should be a pretty snug fit. If you have any slack, push it to the edges and pin down the inner pockets very close to the edge. If you have a lot of movement and it bothers you, you can turn it back inside out and stitch in a little closer.
Now for the moment of truth: check the fit of your Kindle. If it fits, close the “book” and wrap the flap around the back. Seriously – guys – do this with your Kindle inside, or it might not fit. Mark the place where the flap needs to go to close snugly.
Take out the fabric and sew on a button, snap, magnetic clasp onto the outer fabric – this is your last chance to do it without the board getting in your way! *Note: due to the nature of the thing you are stitching, which is a pocket, this will suck. Sorry. (If you plan on closing the whole thing with an elastic band, you don’t have to worry about this part.)
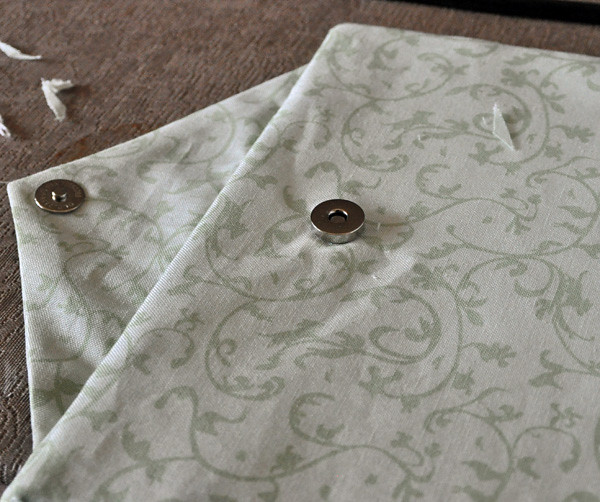 |
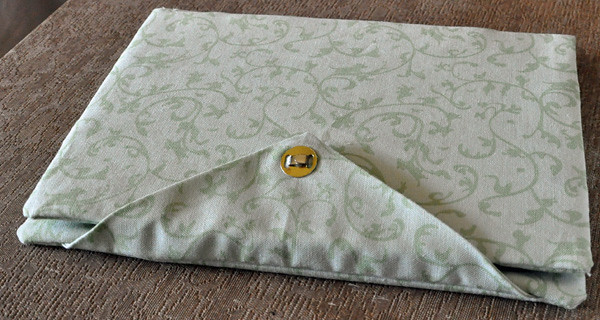
| The fact that I used a magnetic clasp made it not too bad, since I only had to cut two small slits in the fabric. |
Pin in the elastic, folded down, so that it will be caught when you topstitch in the next step.
Using a zipper foot, topstitch through the inside pockets, through the felt, down to enclose the board. If you don’t feel comfortable using a zipper foot or aren’t sure that you won’t stitch through the mat board or plastic canvas, you can always handstitch.
 |
| I won't lie, this is the worst part of everything... but it goes by pretty quick. |
I would recommended hand stitching the little tiny flaps at the top and bottom of the felt-lined gap. If you are a hoss with the machine, you can machine stitch it. Kudos to your skills! If you hate stitching altogether, just glue it down with some Fray-check or fabric glue. Keep in mind, though, that this might stiffen the “hinge.” I think, in the view above, I just tucked them under the felt, but I prefer for them to be on top of the felt, as I have done on the other two Kindle cases I have made.
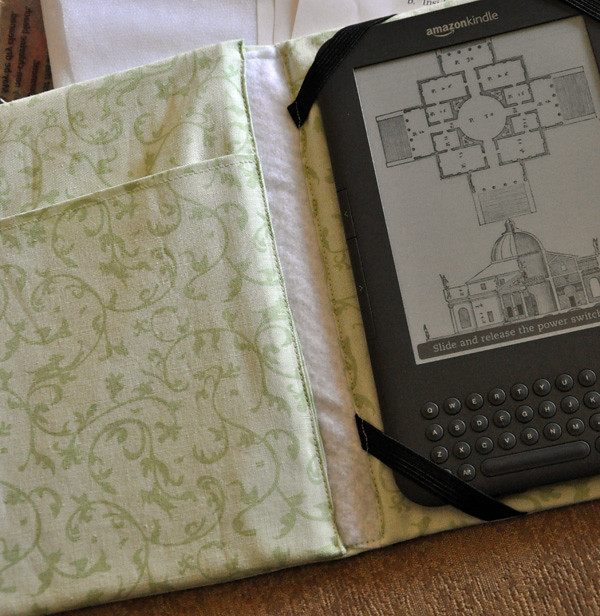 |
| Per the "prancing pony" rule, the above mistakes do not technically count. |
 |
| In this view, you can see how a magnetic closure will keep the case open. |
UPDATE: my mom has had this case for several weeks now, and she said that she never has a problem with her device slipping out of it. So maybe it's more secure than it looks!






No comments:
Post a Comment