
Pullip Raglan T-shirt
Revised 10/4/11
Materials:
- Size 10 crochet thread. Used for example: J&P Coats Royale Crochet Thread (100% mercerized cotton, 350 yd/320m) in 493 French Rose.
- Size 1-US needles, straight, circular, or a pair of DPN's
- One long stitch holder, three safety pins, or two double-pointed needles (in addition to needles above)
- 2 stitch markers
- Scissors, ruler, darning needle
- Yarn bobbin (not crucial)
- How to knit, purl, and work in both garter stitch and stockinette stitch
- How to ssk, k2tog, and m1
CO 33 sts.
K 2 rows. P 1 row.
Begin raglan increases.
K according to chart below, working (m1, k1, m1) between each set of numbers:

Click the image to view a larger version.
I am going to include instructions for a baggier sweater as well (the second set up numbers, in parentheses). This might fit Barbie; if you have a chance to try it, please let me know.
Once you have 73(81) sts on the needles, p 1 row.
Divide for sleeves: slip 11(13) sts onto holder, set 15(17) sts aside on a DPN or another holder, slip 21(23) sts onto holder, set aside 15(17) sts, slip 11(13) sts onto holder.
Work sleeves: join yarn from bobbin to each set of 15(17) sts, k 1 row, p 1 row, k 2 rows, BO in k.
Continue where you left off from the body sts: k10, k2tog, k19, k2tog, k10. 41 sts.*
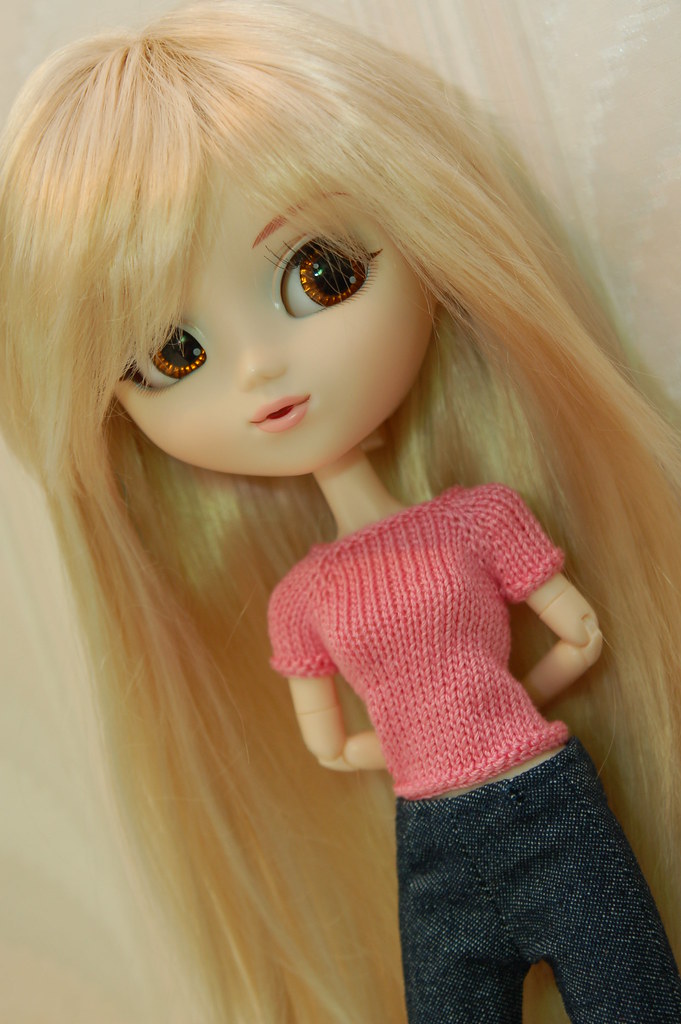
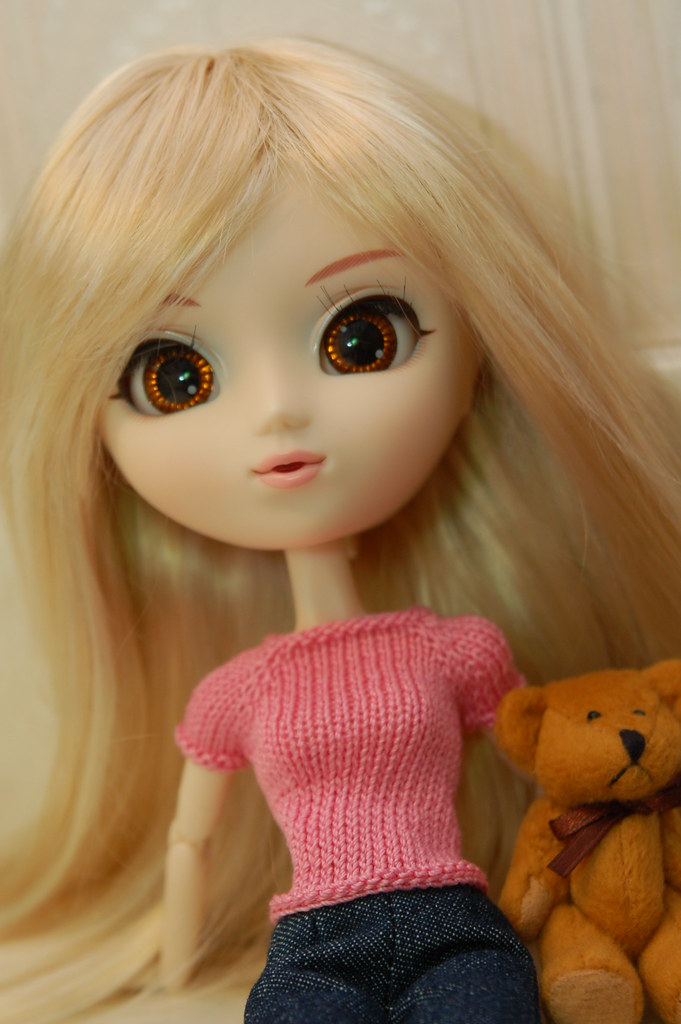
For a classic t-shirt shape (as shown), continue straight for the length desired, k 2 rows, and BO.
For a shaped t-shirt, continue as follows:
Set-up row (after row marked with *): p10, place marker, p21, place marker, p10. Work 2 rows even.
Row 1: K to marker, slip marker, ssk, k to 2 sts before marker, k2tog, slip marker, k to end.
Row 2: P all sts.
Row 3: K to 2 sts before marker, ssk, slip marker, k to next marker, slip marker, k2tog, k to end.
Row 4: P all sts.
Rep above 4 rows once more. 33 sts.
K 1 row, p 1 row. (Leave markers in place.)
Begin increases for hips: *K to 1 st before marker, m1, k1, slip marker, k1, m1, rep from * once, k to end.
P next row.
Repeat this row until you have 45 sts (three repeats of the above two rows). K 2 rows. BO. Sew sleeve seams. Weave in all ends. Sew snaps onto the back (or, be like me, and pin the shirt on so that you can quickly photograph it!).

This is simply adorable! I got started on one immediately only to realize I wasn't sure what kind of stitch you used for your M1s. =/
ReplyDeleteIn the picture it looks like K f/b, maybe? =?
So sorry to be responding late!
ReplyDeleteActually "M1" is a specific type of increase. It may be known as another name depending on where you are. Anyway for me it is the "invisible increase" where you pick up a bar between two stitches and knit into the back of it. If you do an internet search for "m1 increase" I'm sure you'll be able to find more clear instructions.
Your Pullip's clothes are so cute ^_^
ReplyDelete